Google Docs and Grammarly are two important aspects that instantly come to mind when writing.
If you are searching for a convenient way to refine your work on Google Docs, then Grammarly is the perfect option for you.
But how do I add it to Google Docs? If you are wondering the same question, this article is for you!
This article will provide detailed steps for adding Grammarly to Google Docs. So, without any delay, let’s get started.
Grammarly-overview
Grammarly is an extensive app or browser extension that helps you ensure that your content is error-free and impactful by detecting errors and providing essential suggestions to upscale your writing skills.
It works in all web browsers, such as Firefox, Edge, Safari, etc., but Chrome is the preferred browser for the fullest experience of its features.
By opting for Chrome, you can access Grammarly’s full functionality in the sidebar of Google Docs.
How to add Grammarly for Google Docs?
Adding Grammarly to Google Docs is quite a different process than adding it to Microsoft Word.
Tip: If you already installed Grammarly Chrome extension, you don’t need to add Grammarly to Docs seperately.
To learn how to add Grammarly to Google Docs, go through the steps provided below.
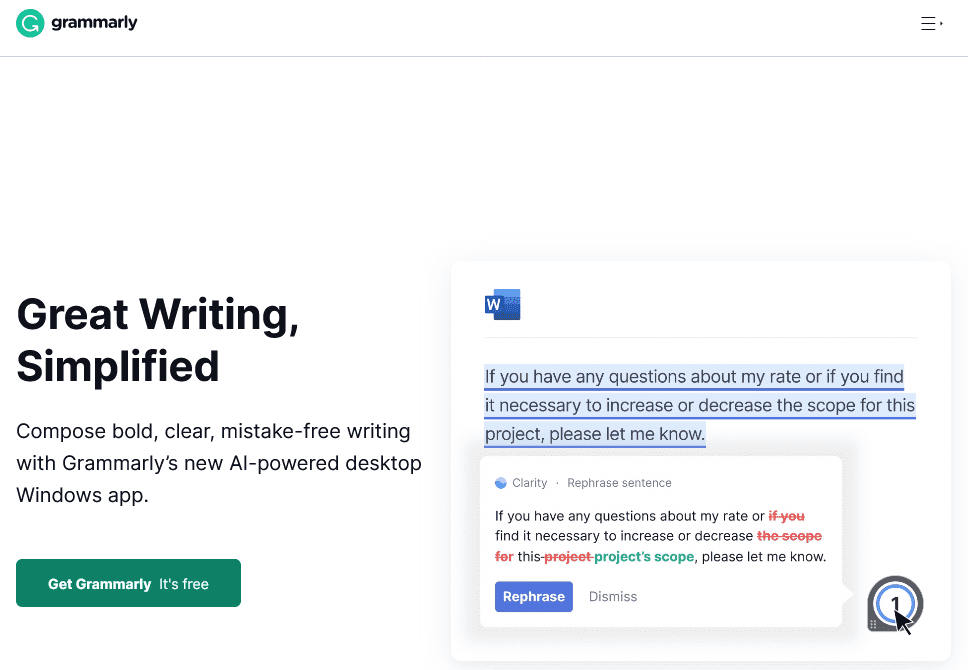
Step 1- Head toward the Grammarly official website
The first step is to visit Grammarly’s website. You can also do it by using Firefox, Safari, and Edge, but with Chrome, you can access the full features of Grammarly in Google Docs.
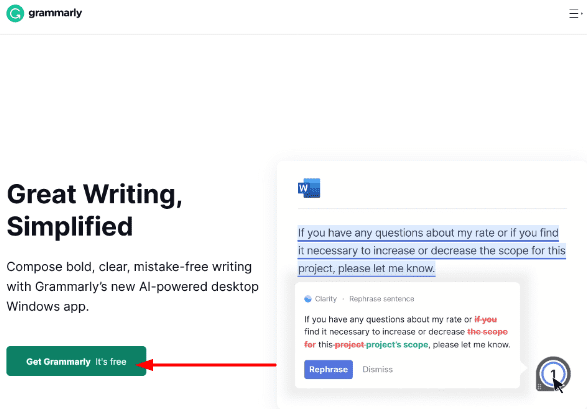
Step 2- Click on Get Grammarly
The next step is to click on Get Grammarly. It will direct you toward the Grammarly extension.
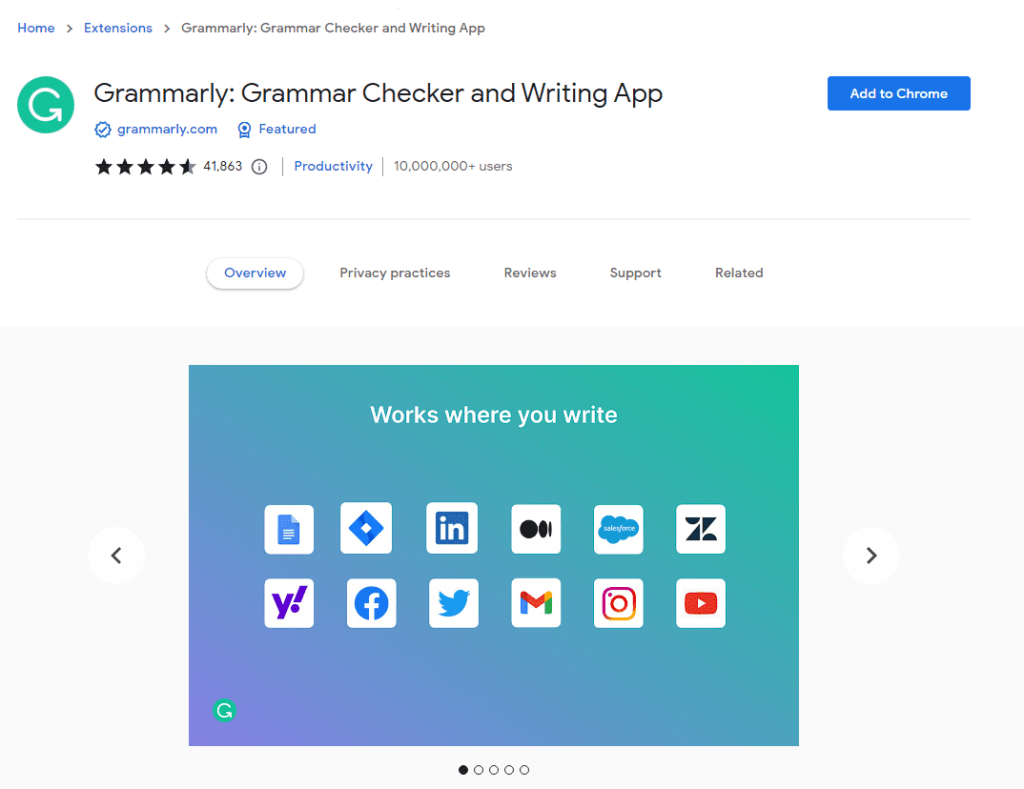
Step 3- Select add to Chrome option
In the third step, click on the “add to Chrome” button and install the Grammarly extension from the Chrome web store.
Step 4- Set up your Grammarly account
Once you have added the extension, creating a Grammarly account is next. If you already have one, select the option “I have an account” and sign in here.
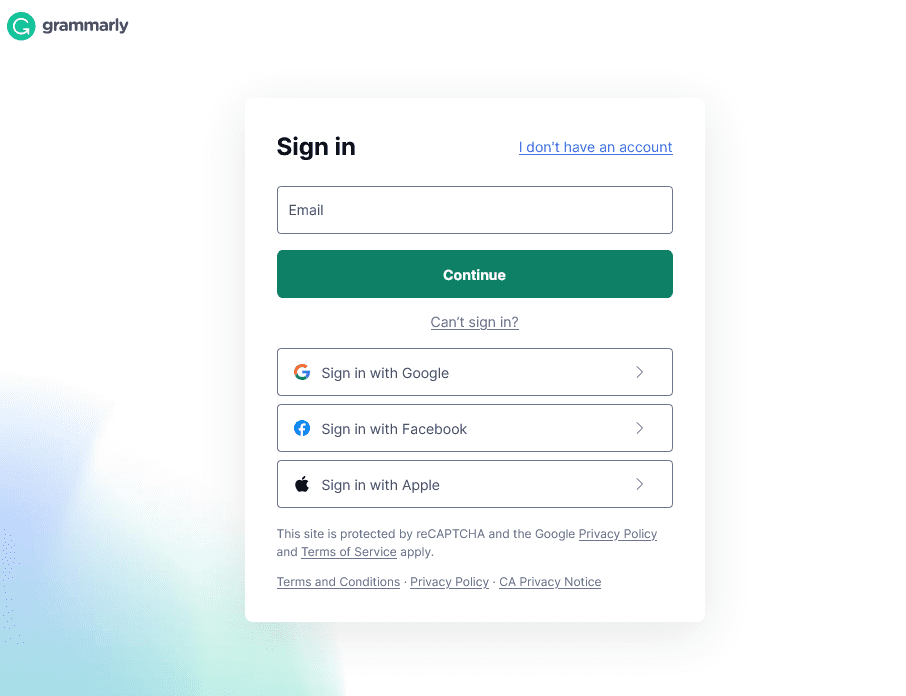
Note: You won’t be able to access Grammarly in Google docs if you don’t create your account.
Step 5- Head toward Google docs
Once you have created your account, go to Google Docs and open a document. After that, select the icon present at the bottom right corner of your window. The icon
The icon appears like Green G by default, but if you have any suggestions regarding correction, it will appear red in color.
When you click on the icon, you will see the corrections and necessary suggestions on the sidebar. Here, you can see detailed information and delete a suggestion if you do not want to apply it.
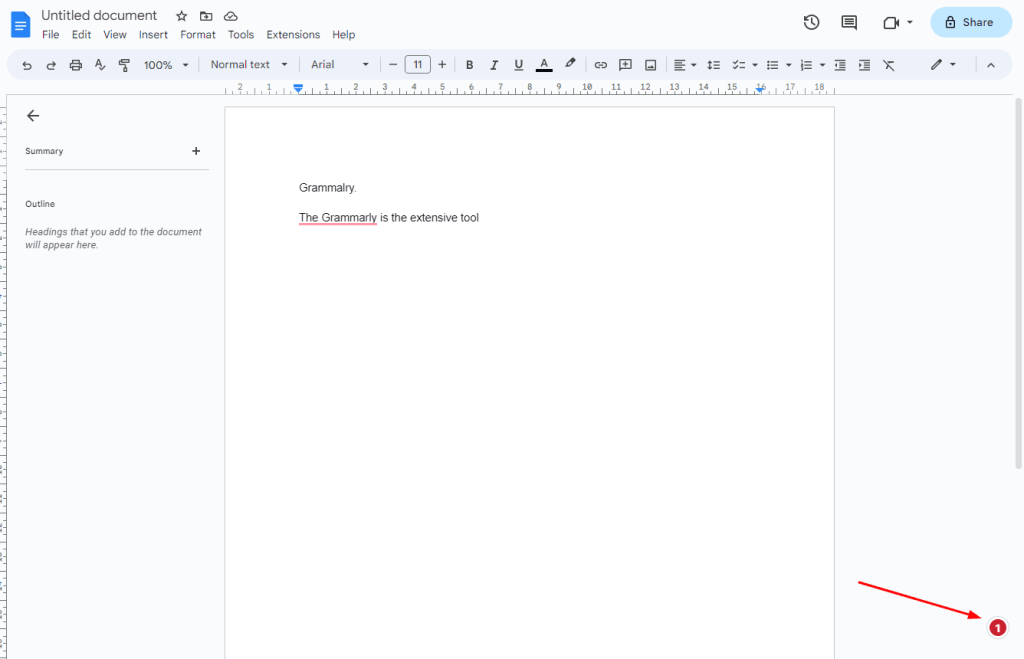
Congrats! You have successfully added Grammarly to Google Docs. You can now access all its exclusive features on Google Docs.
How to Check Plagiarism in Grammarly on Google Docs
One of my favorite things about the integration of Grammarly with Google Docs is how easy is makes to check the content, including for plagiarism.
All you need to is click on the icon of Grammarly on the right side and click on “check for plagiarism.”
Grammarly will automatically scan your content against billions of web pages and provide the results.
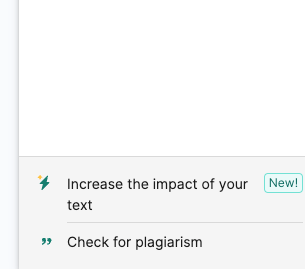
Note: Grammarly does not make corrections for plagiarism on your behalf. You will have to manually make the changes, and you can verify them from the sources it has provided.
Using Grammarly in Google Docs
Now that you have successfully added Grammarly to Google Docs, whenever you start content in Google Docs, Grammarly will automatically work in the background and examine your content to detect errors.
The sidebar of Grammarly provides various changes indicated by different colors. Let’s familiarize ourselves with those changes.
Green icon: The green icon, which is present by default, indicates that there are no errors in your content, and you are good to go.
Loading icon: The loading icon indicates that Grammarly is actively monitoring your content and will provide you with the report within a few seconds.
Red icon: The red icon indicates critical mistakes or errors, and the number on the red icon demonstrates the total number of critical errors that need to be fixed or corrected.
Red underlines: The red underlines indicate that Grammarly has a suggestion for you, and if you hover over the red underline, it demonstrates the change suggested.
Features offered by Grammarly for Google Docs
Below are a few features Grammarly offers on Google Docs.
- Detects spelling and Grammatical errors.
- Eliminates wordiness by replacing wordy phrases with concise and crisp sentences.
- It imparts clarity to your content and enhances word choice.
- Allows you to customize your personal dictionary by adding words.
- Provides the option to select a new language.
Related Reads –
Grammarly For Google Docs Pros and Cons
Pros
- Fast and quick checks
- Provides real-time suggestions
- Instantly checks plagiarism
- Use Generative AI directly into Docs
- Free to install and use
Cons
- Can sometimes lag due to network issues
- Might not provide 100% suggestions compared to the web version
My Experience With Grammarly on Google Docs
As someone who writes every day on Google Docs, Grammarly integration has been my favorite so far.
Not only does it saves my time, but also made my work a LOT more efficient and easier. I usually turn it off when I’m writing so that I can edit altogether in the end. Once I’m done writing, I sit to edit and turn 0n Grammarly. One of the best parts is that it automatically makes the changes upon a single click.
Out of everything good, there is one thing that I dislike about the integration. It can sometimes fail to provide accurate results compared to the web version. Therefore, in order to tackle this, once I’m done checking my content with Grammarly, I refresh my doc and allow Grammarly to run through my content again. You will notice how there are more changes needed even after checking it once.
Hopefully, as Grammarly keeps updating, they work upon these changes.
Conclusion
Several people use Google Docs to write content, and Grammarly is a highly recommended tool for proofreading and making necessary changes.
By adding Grammarly to Google Docs, you can create new documents and check them or check the pre-existing ones.
The above-provided guide can be used to add Grammarly to Google Docs on both PC and Mac.
So add Grammarly to Google Docs today and start writing exceptional content.
Also Read:
FAQs
If you are not able to see the Grammarly icon in Google Docs, or if Grammarly is not providing you suggestions, then Grammarly for Google Docs is disabled. In such a case, you can simply look for the Grammarly icon in the toolbar of the browser, click on it, and make sure that checking for writing suggestions is turned on in Google Docs.
In the Google document, when clicking the green Grammarly icon at the bottom right corner, the Grammarly sidebar pops up on the right side of the screen. It comprises all the corrections and suggestions provided by Grammarly.
You cannot use Grammarly’s plagiarism checker in any integration. In order to check your content for plagiarism, you can use the official Grammarly document.


